![]()
![]()
(Topic Last Updated On: 02/22/2018)
File > Data Export
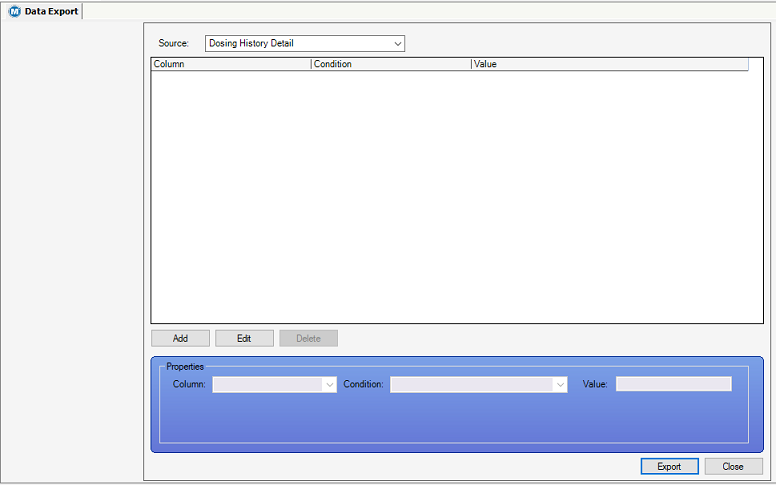
Accessible from the File menu, the Data Export screen is used to export pre-configured and customizable data source types. Users can create data specific export files using the Data Export Setup screen found in the Administration menu. Exports can be saved to the Document Manager or locally to the users computer. The CCD (Continuity of Care Document) and Dosing History Detail exports are system default exports.
Source
This dropdown menu displays available data exports that have been configured in the Data Export Setup screen found under the Administration menu.
Criteria
Criteria options differ depending on the export source type selected from the source menu. Most common options will be patient ID and date selection fields.
Properties
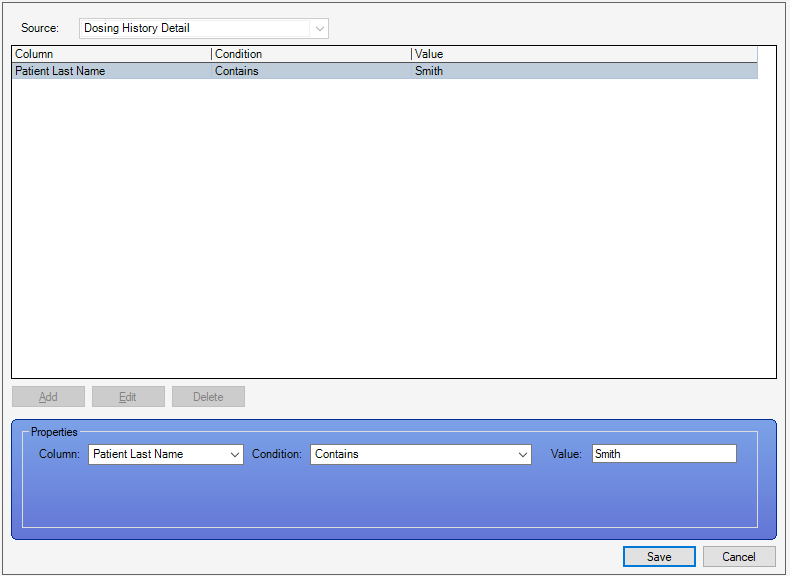
Some data export source types allow the user to filter what data is displayed at the time they are running the export. Depending on the selection made in the Column menu, there will be corresponding Condition options. Also depending on what Column and Condition options are selected, the user can then choose what Value they want to filter the export by. The properties selected apply only to the data that is being exported at that time. These selections will override the default parameters configured for the export source in the Data Export Setup screen. The property selections made will reset once the Data Export screen is closed.
Column
Displays the selection made from the properties Column dropdown menu when available. This menu lists available columns in the selected data export. Choose the column you want to filter data from. For example, if you want to filter the data to export only patients with the last name of 'Smith'. You would choose the column option 'Last Name'.
Condition
Depending on the selection made in the Column list, the condition dropdown menu will display specific filterable options for that column type. For example, if you chose the 'Last Name' column option, the condition list will display options like Contains, Does Not Contain, Ends With, Equals, etc. To filter the data to export only patients with the last name 'Smith', you would choose the option Contains.
Value
The options in this field are dependant on what selections are made in the Column and Condition dropdown lists. Some available options are textbox, date selection, and checkbox selections. Continuing the example of filtering the data export to show only patients with the last name 'Smith'. The user would enter the name 'Smith' in the textbox Value field.
Add
This button becomes available when the selected data export source has the option for filterable properties. Pressing this button allows the selection of available columns, conditions, and values that will filter the output of the data export.
Edit
This button allows the user to edit the selected properties that have been applied to the data export instance. Pressing this button allows the user to change the selections made in the column, condition, and value properties.
Delete
Clicking this button will delete the selected properties that have been applied to the data export.
Save
After making selections to the exports properties, click this button to save the selections and apply them to the export.
Cancel
When editing property selections, clicking this button will cancel the selections being made without saving the changes.
Export
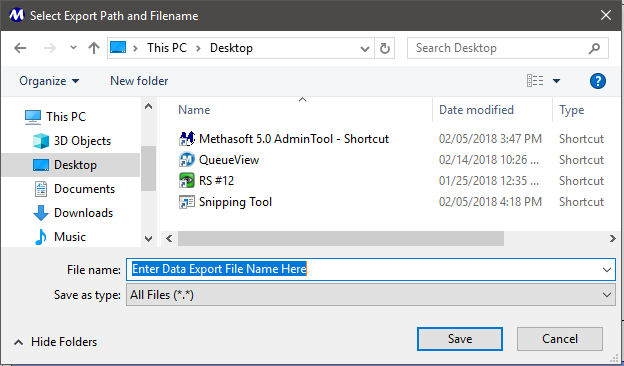
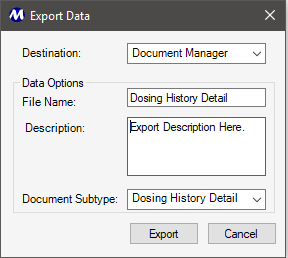
After choosing a data export source and making any criteria specifications. Click the export button to start the data export process. This will bring up the Export Data dialog box. Specify where the export will be saved by choosing either Document Manager or Download. The download option will save the export to the local computer.
Exporting to Document Manager
There must be a document subtype created for each data export source prior to saving it to the document manager. Document subtypes can be created in the Document Setup screen found under the Administration menu.
Data Export Source Criteria vs Properties
Some data export sources will have system coded criteria that is specific to that data export. These criteria options cannot be edited. Other export sources will have the option to select filterable properties. The properties selected for these exports apply only to that export instance. Once a different data export source is selected from the dropdown, or the data export screen is closed, the chosen properties will reset. Default Parameters for data export sources can be configured on the Data Export Setup screen.
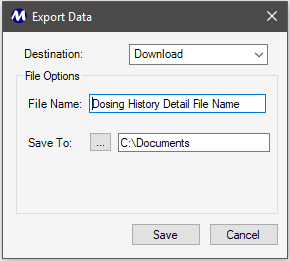
 to browse the local file system. Browse to the folder where you
want to save the export. Click
to browse the local file system. Browse to the folder where you
want to save the export. Click